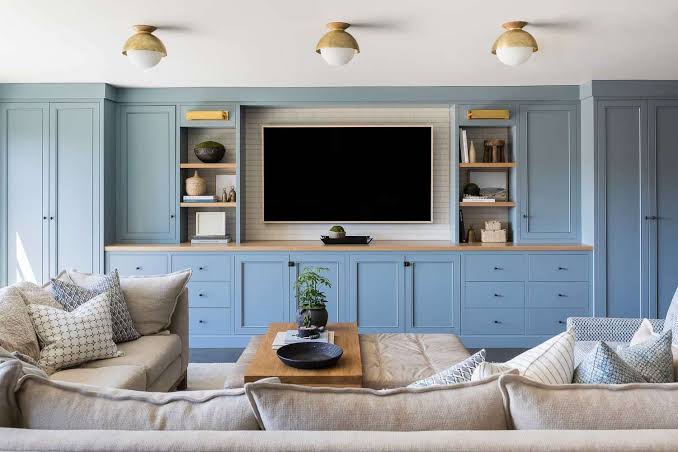
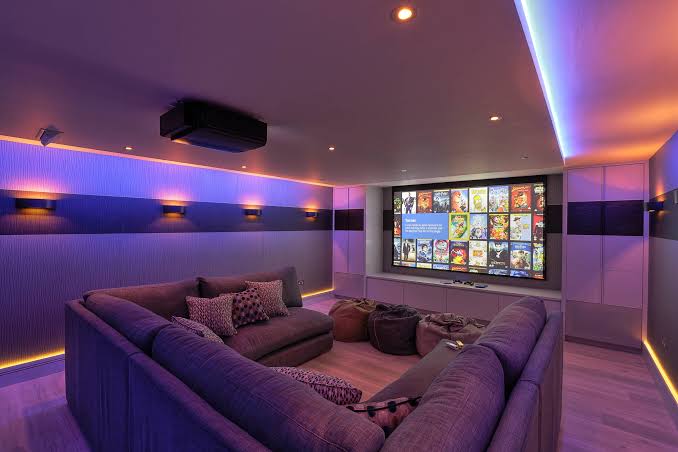
For movie lovers, there is nothing quite like the smell of popcorn and the dimming of lights. However, the trek to the local megaplex is becoming less appealing as home technology catches up. Designing a professional-grade cinema experience in your own home is a blend of interior design and audio-visual engineering.
Whether you have a dedicated basement or a versatile living room, here is how to bring the silver screen to your doorstep.
Choose the Right Display: Projector vs. OLED
Choosing the perfect display is the foundation of your home cinema. The decision rests on two factors: scale and light control. Projectors offer that authentic, oversized theater feel that fills your peripheral vision, making them ideal for dedicated, dark rooms. Conversely, OLED TVs provide unmatched contrast, vibrant colors, and deep blacks. While OLEDs excel in brighter environments, projectors remain the king of cinematic immersion for large-scale viewing.
Projectors
Projectors are the gold standard for achieving a true “big screen” experience, easily reaching sizes over 120 inches. Modern 4K laser projectors offer incredible sharpness and cinematic color grading. For the best results, pair your unit with a fixed-frame screen to ensure a flat, reflective surface. They are best suited for controlled environments where you can eliminate all ambient light.
OLED TVs
OLED technology is the champion of picture quality, featuring self-lit pixels that produce perfect black levels and infinite contrast. This makes HDR content look breathtakingly realistic. Unlike projectors, OLEDs maintain their clarity and color saturation in rooms with some natural light. If your space is smaller or multi-purpose, an 83-inch OLED offers a premium, plug-and-play solution with zero maintenance.
Master the Physics of Sound
In a cinema, sound doesn’t just come from the front; it moves around you. This is achieved through Spatial Audio or Dolby Atmos.
To design an immersive soundscape, follow the 5.1.2 or 7.1.4 configuration. The first number represents the ear-level speakers, the second is the subwoofer (LFE), and the third represents the overhead “height” channels.
Pro Tip
Don’t just buy big speakers—place them correctly. Your “sweet spot” (the main seat) should be equidistant from the left and right channels, with the center channel placed directly at ear level behind or below the screen.
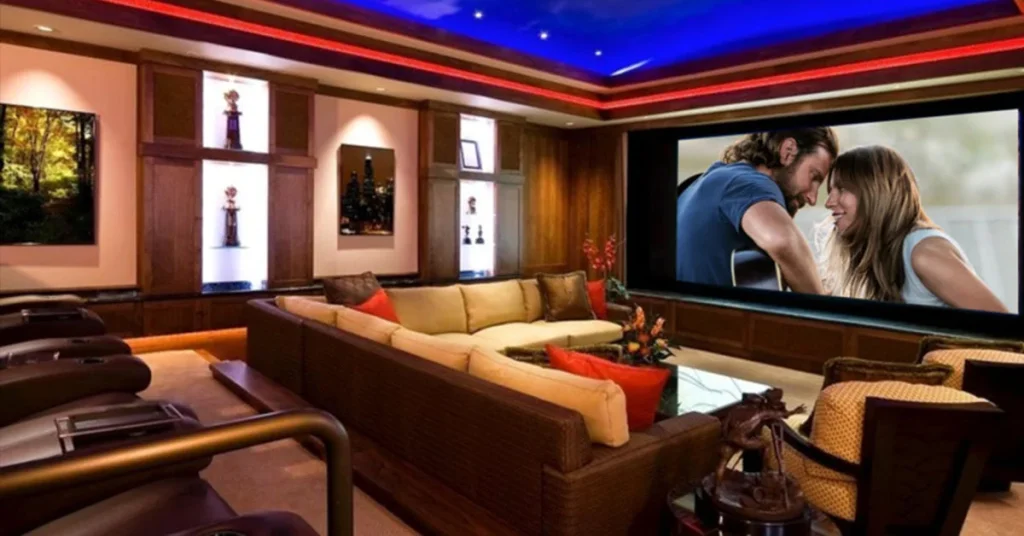
Acoustic Treatments: The Unsung Hero
High-end hardware alone cannot guarantee cinematic sound; the room itself must be tuned. Acoustic treatments manage how sound waves interact with hard surfaces, preventing echoes and “muddy” audio that obscures dialogue. By strategically placing absorptive and diffusive materials, you eliminate acoustic distortions and create a controlled environment. This ensures that every whisper and explosion reaches your ears with the precise clarity and impact intended by the film’s sound engineers.
Bass Traps
Low-frequency sound waves naturally gravitate toward corners, where they pool and create a “boomy,” distorted sound. Bass traps are specialized thick absorbers designed to sit in these corners and soak up that excess energy. By neutralizing these low-end reflections, you achieve a much tighter, more accurate bass response, ensuring your subwoofer feels punchy and powerful rather than overwhelming or muddy.
Acoustic Panels
Primary reflection points on your side walls are where sound first bounces before reaching your ears, causing “clutter” in the soundstage. Installing fabric-wrapped acoustic panels at these points absorbs mid-to-high frequencies, sharpening the stereo image and enhancing vocal clarity. These panels transform a reflective, “live” room into a professional-grade theater space where every subtle detail in the soundtrack becomes distinctly audible.
Heavy Drapes
Windows are notorious for reflecting sound and leaking light, both of which ruin the cinema experience. Heavy, floor-to-ceiling velvet drapes serve a dual purpose: they act as a massive sound absorber to dampen room reverb and provide total light blockage for your projector. This simple addition significantly improves the room’s thermal insulation while adding a classic, luxurious aesthetic to your theater.
Lighting and Ambiance
The right lighting design bridges the gap between a standard living room and a professional cinema. It is about more than just turning off the overheads; it involves controlling external light and creating a layered visual environment. Proper ambiance enhances on-screen contrast, reduces eye strain, and sets the psychological mood for a film. By balancing darkness with subtle, strategic illumination, you ensure the focus remains entirely on the story being told.
Blackout Shades
For those using high-performance projectors, light is the enemy of color saturation. Blackout shades are essential for neutralizing windows that bleed natural light into your viewing space. High-quality motorized versions provide a light-tight seal, ensuring that even a midday screening has the “pitch-black” feel of a commercial theater. This level of control is critical for maintaining deep, cinematic black levels.
Bias Lighting
Bias lighting involves placing a neutral LED strip behind your display to project a soft glow onto the wall. This reduces the harsh contrast between a bright screen and a dark room, significantly decreasing eye fatigue during long movies. It also perceptually enhances the black levels of your TV, making the colors appear richer and the images more defined for viewers.
Smart Dimming
Smart dimming systems allow you to transition from “prep mode” to “showtime” with a single tap or voice command. Slowly fading the lights mimics the professional cinema experience, allowing your pupils to adjust naturally to the dark. Integrating your overheads, sconces, and floor lamps into a unified smart scene ensures that no stray glare interrupts the opening credits of your film.
Ergonomics and Sightlines
If you have multiple rows of seating, you’ll need a riser. A standard riser height is usually around 8 to 12 inches to ensure the back row can see over the heads of the front row.
Ensure your viewing angle is comfortable. According to THX standards, the ideal viewing angle is approximately 40 degrees for an immersive experience.
Summary Checklist for Your Build
| Feature | Recommendation |
| Display | 4K Laser Projector or 83″ OLED |
| Audio | Dolby Atmos (at least 5.1.2) |
| Walls | Dark matte paint (Navy, Charcoal, or Black) |
| Seating | Recliners with cup holders and floor risers |
| Connectivity | High-speed HDMI 2.1 cables |
Conclusion
Designing a cinema-style experience requires balancing technical precision with thoughtful ambiance. By prioritizing a high-quality display, immersive audio, and strategic acoustic treatments, you can transform any room into a professional theater. With the right lighting and ergonomic seating, your home becomes the ultimate destination for unforgettable, silver-screen movie nights.